
Overview
Features are the points, lines, and polygons you capture on the map. First you define a feature type (its geometry and styling); then you digitise individual features against that type. Administrators, Project Managers, and Project Supervisors create feature types; Editors and above can digitise features.
Creating a feature type
- In the Map Window, open Project Features and click New Feature Type.
- Enter a name (e.g. Signpost, Manhole), choose a geometry (Point, Line, or Polygon), then set a style and colour using the style button

Point Styles Line Styles Area Styles
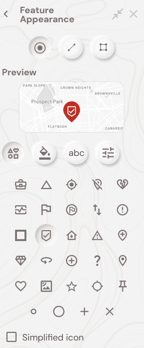
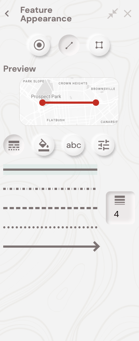
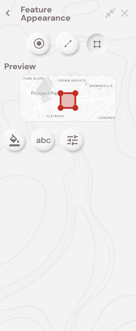
Next, add the data fields users will complete — see Creating feature attribute forms.
Digitising a feature
- In Project Features, click the feature type to digitise.
- Click the map to place geometry:
- Point — single click
- Line — click nodes; double-click to finish
- Polygon — click vertices; double-click to close
- Click the pencil icon, fill in required fields, and click Save.
Editing a feature
- Switch to Select Mode, click the feature, then click the pencil icon to edit attributes or drag nodes to adjust geometry.
- Click Save.
- In Select Mode, click the feature, click ⋮, and choose Delete.
⚠️ Deletion is immediate and cannot be undone.
What's next?